
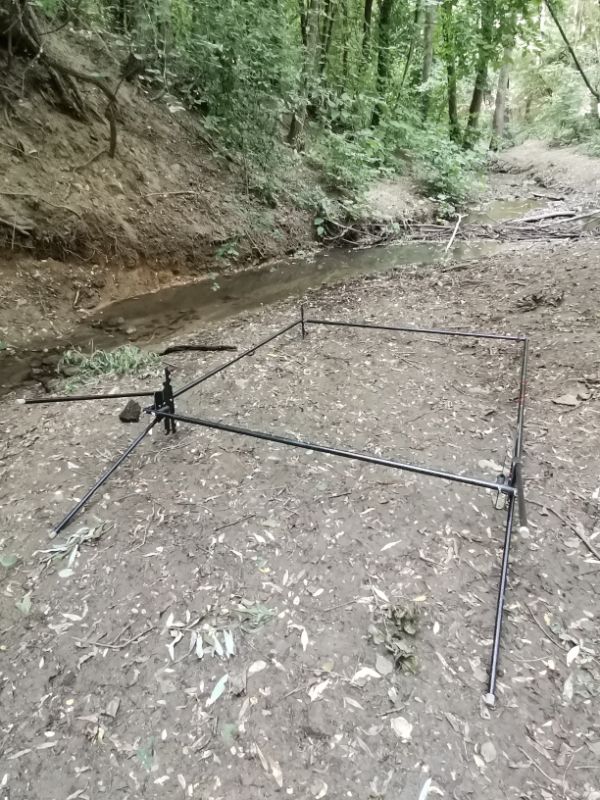
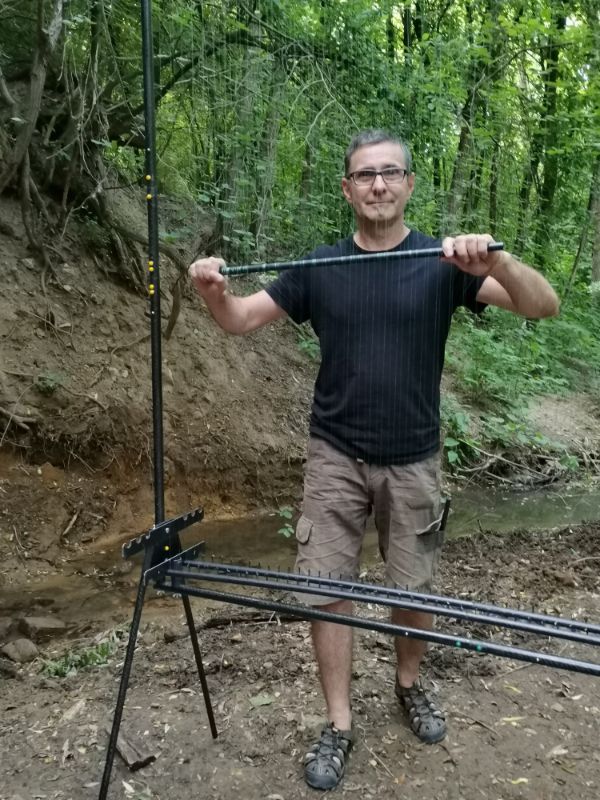
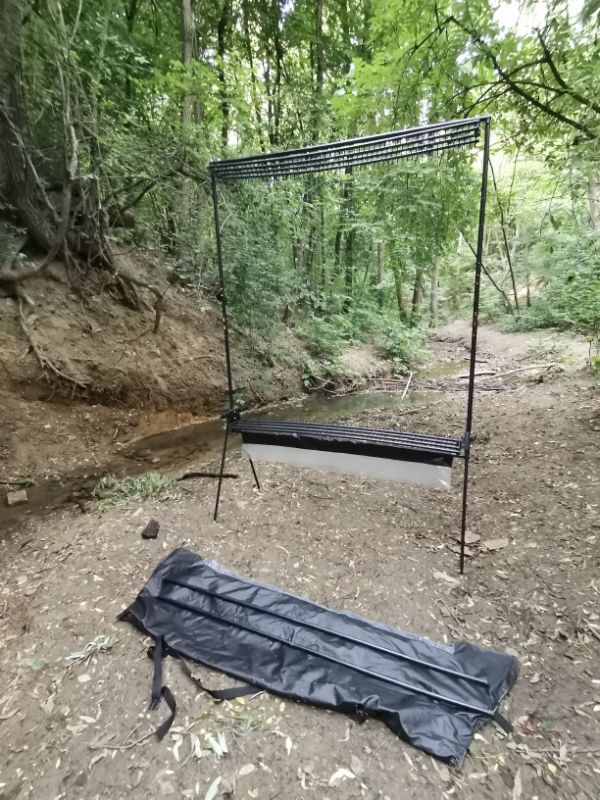
A person, if experienced, can set it up in about 20 minutes.
Assembly manual:
Step 1
Remove the bag from the carrier bag. The elements of the trap will be found here. In the package you will find the elements that are connected to each other.


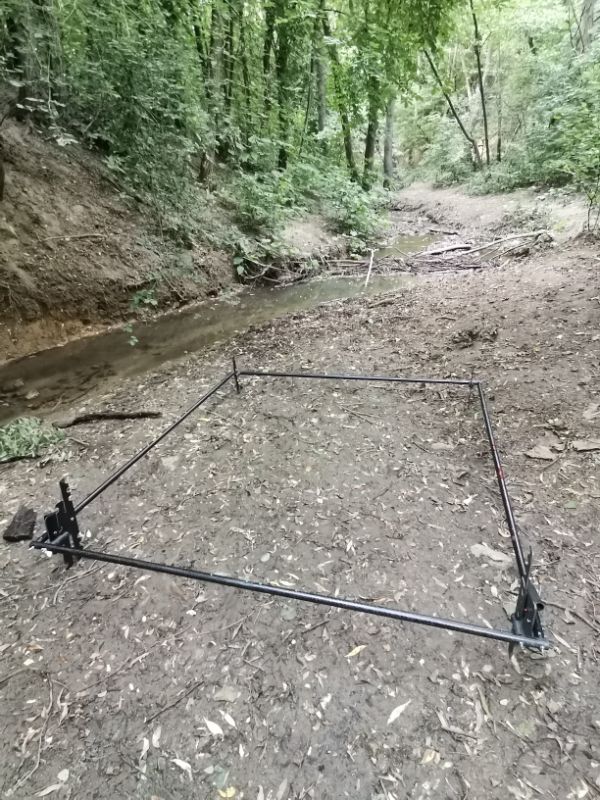
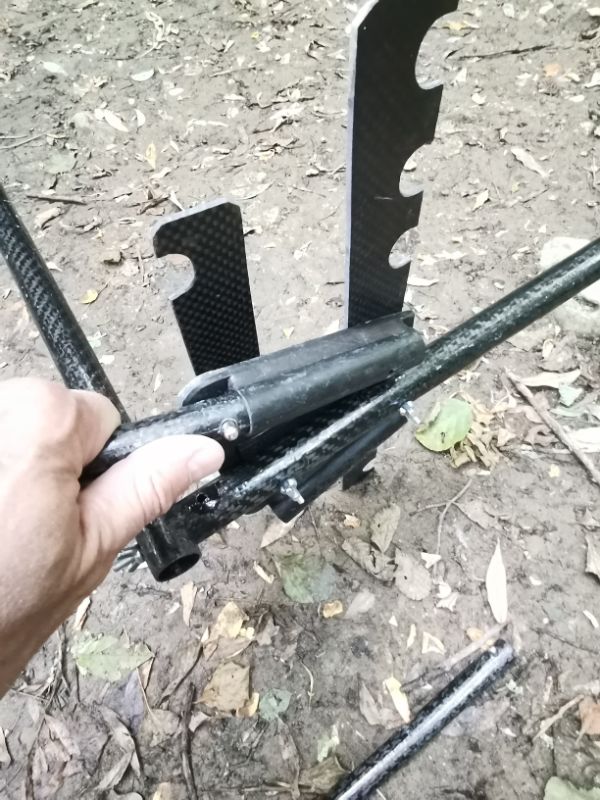
Step 2
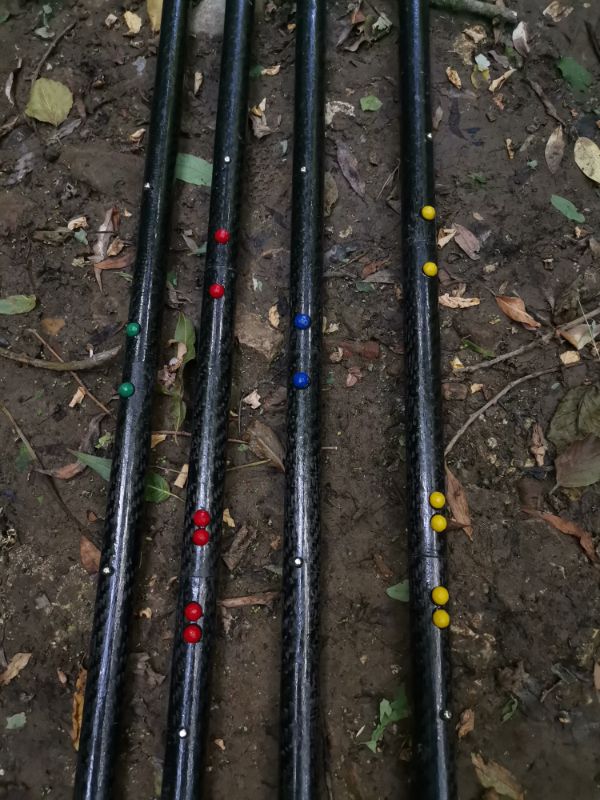
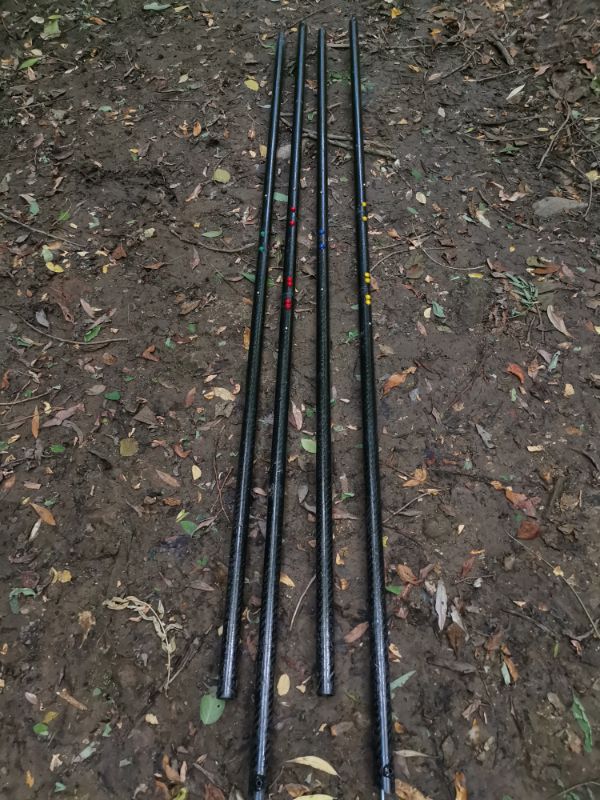
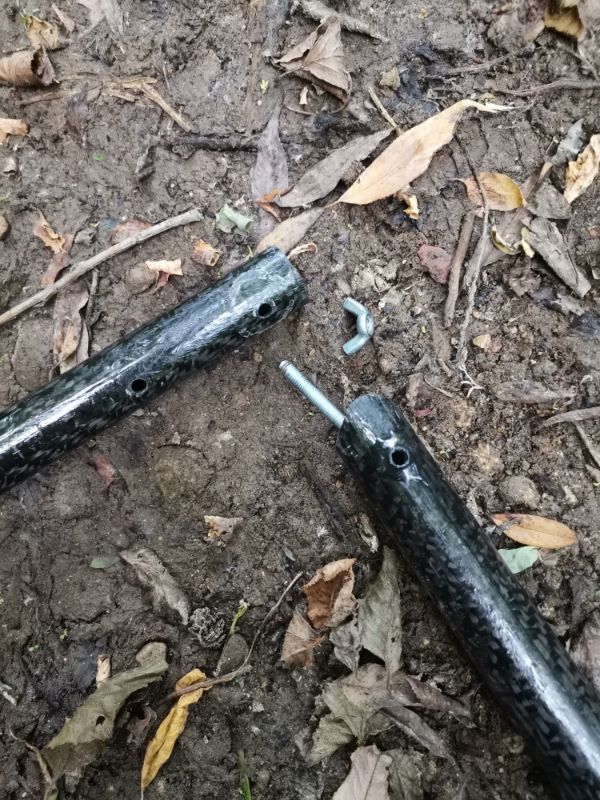
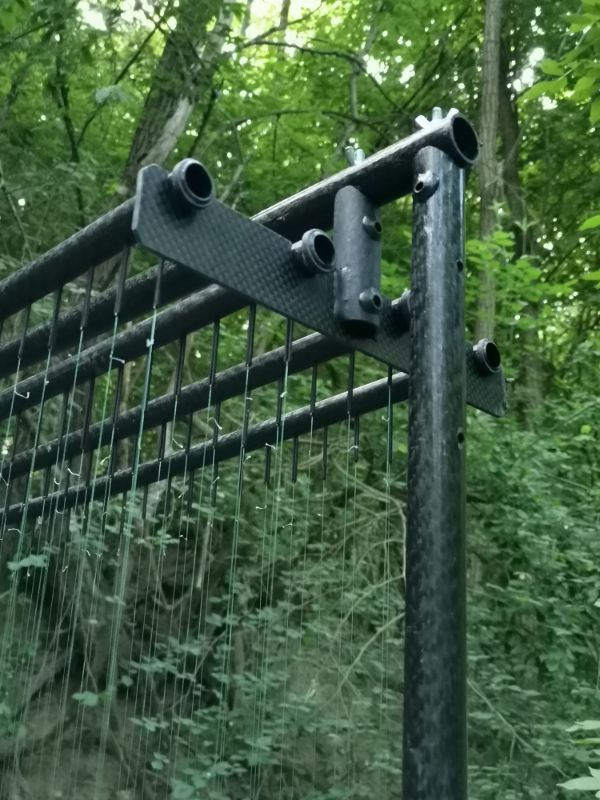
Find the thickest pipes that will give you the frame of the trap. The pipes are covered with coloured dots indicating the elements that belong to each other. Blue top, green bottom, red right, yellow on the left. The marking must always be facing you during installation. Vertical elements are extended in three parts (red, yellow) so that the single-dot mark is facing upwards with the two-dot mark facing downwards. Use the button-clips to push the elements together. Push the screws of the vertical elements through the holes of the horizontal elements and screw the wing nuts on them. Continue to make sure that the colour markings are looking in one direction towards you.


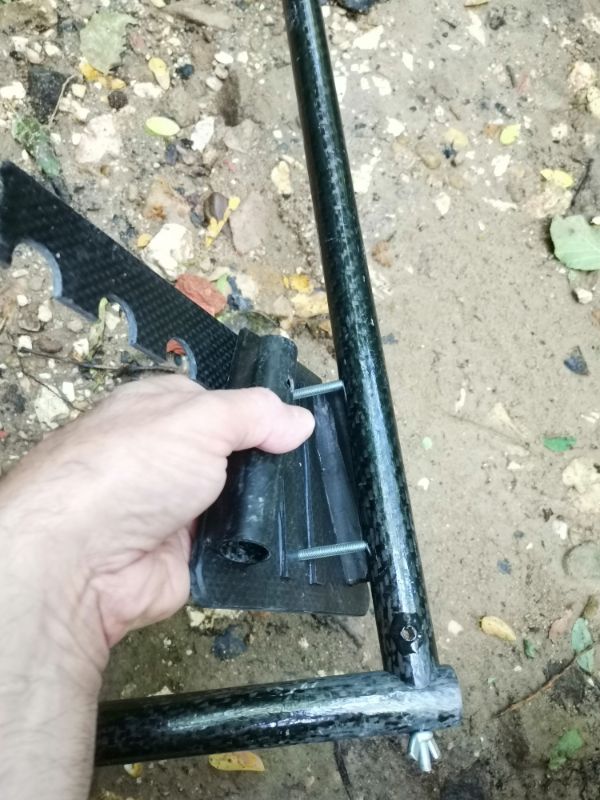
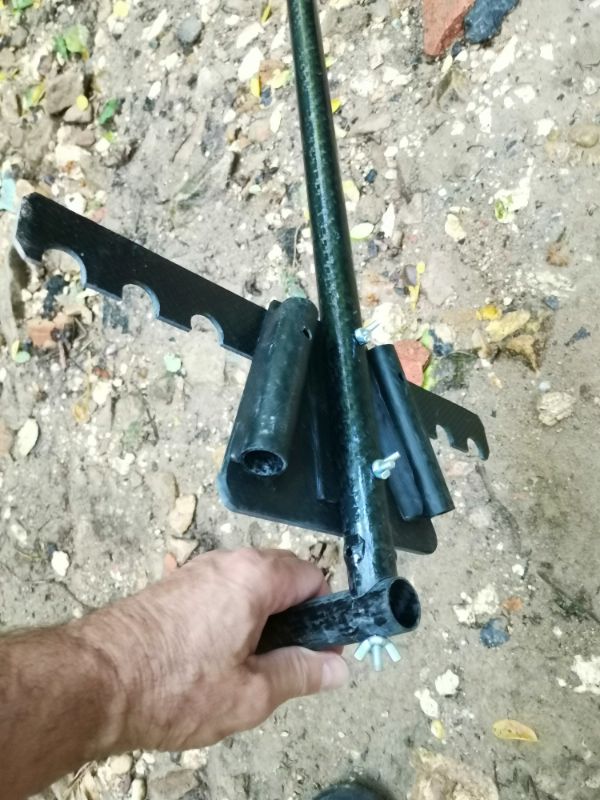
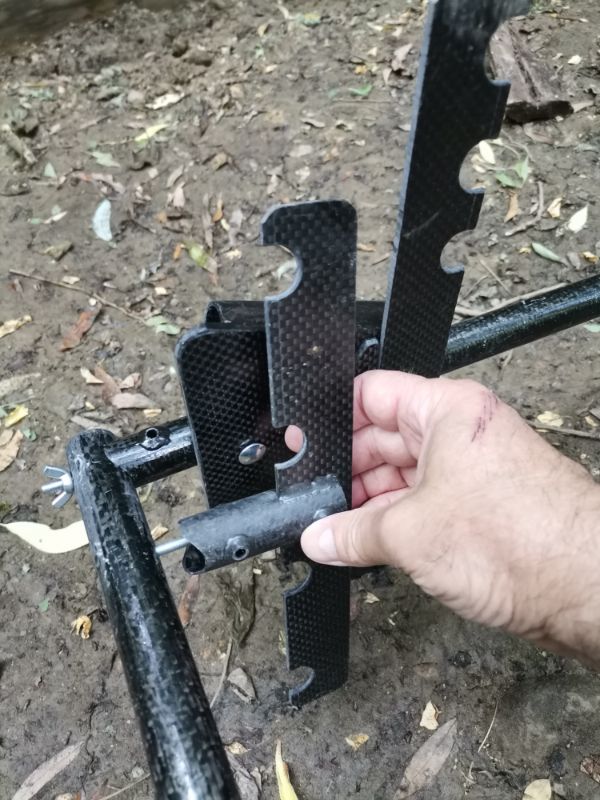
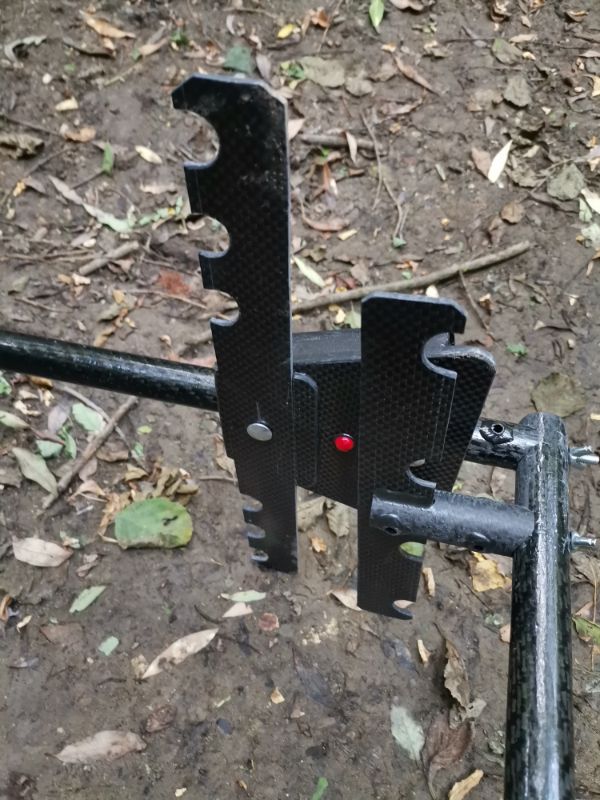
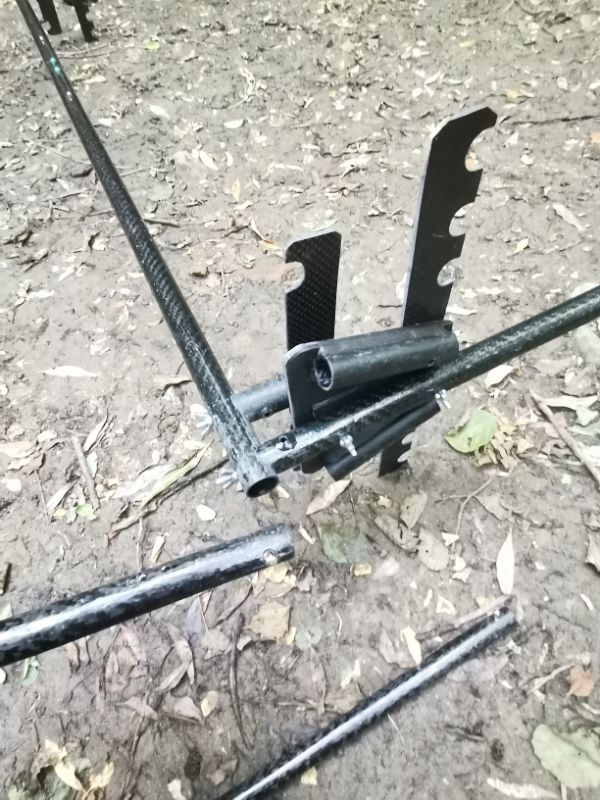
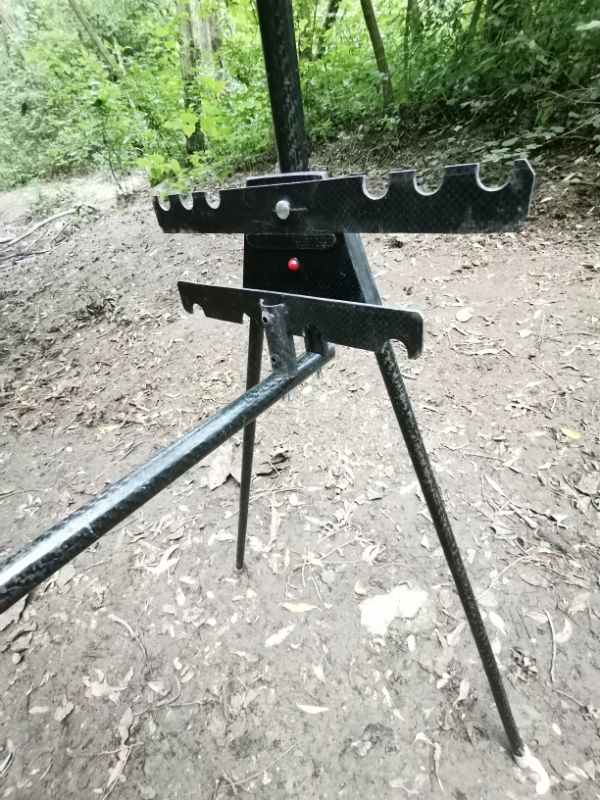
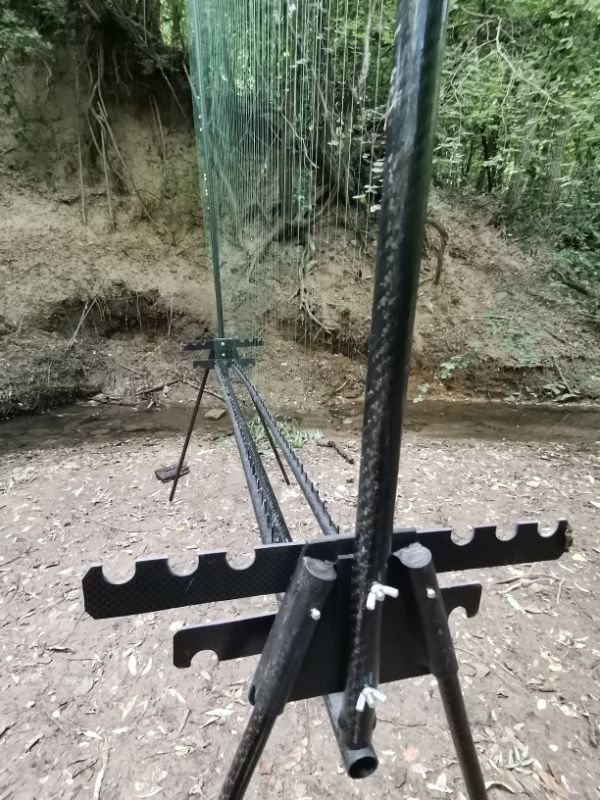
Step 3
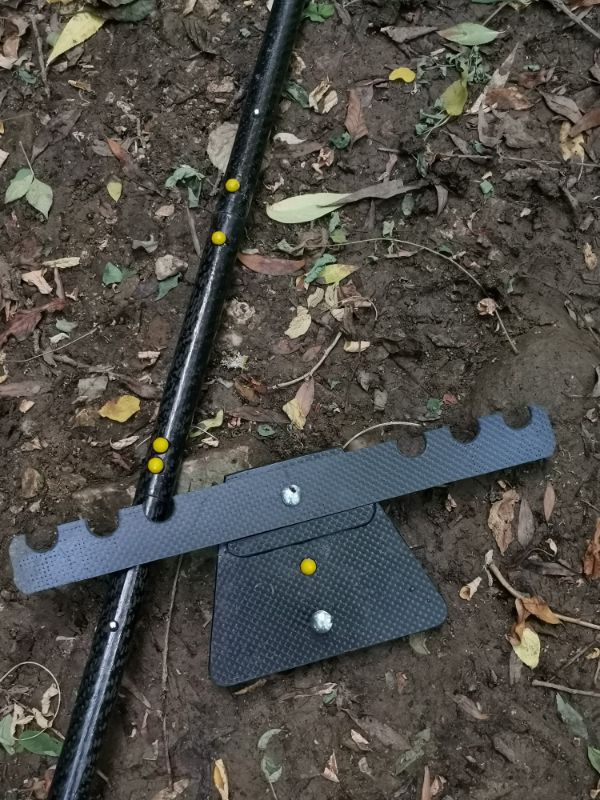
The next step is to screw the foot: the 3-angle element onto the frame. Colorful dots help you navigate. The right is red, the left is yellow. The element must be screwed up from the inside of the frame with the wing nuts. The teeth of the bag holders face upwards.


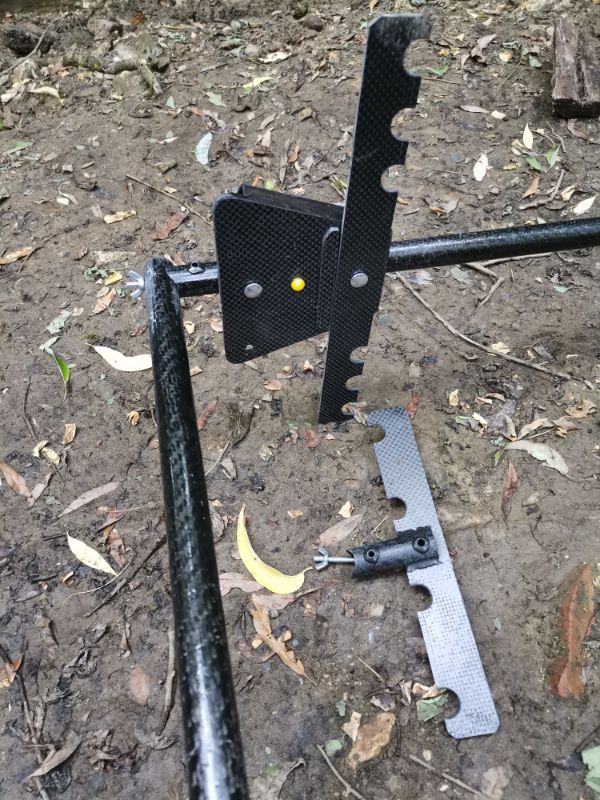
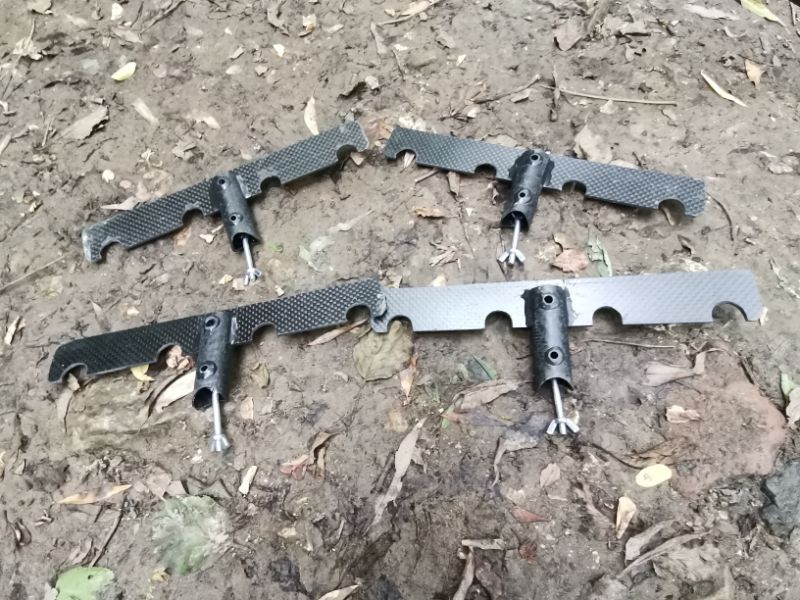
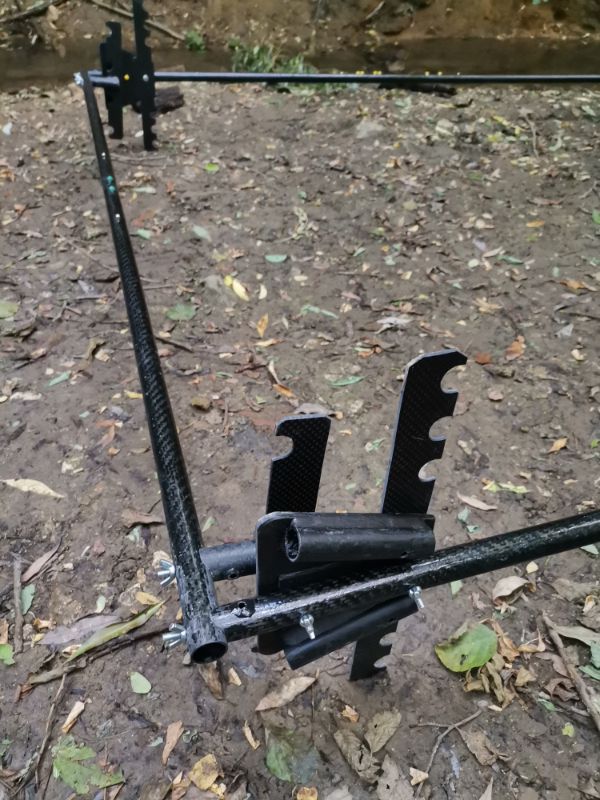
Step 4
Next step is screwing the 4 pcs. string holder: “T” element for holes at the ends of the horizontal bars. Each element is placed on the inside of the frame, no matter where each item is placed. Set the “T” element horizontally and tighten the screws.
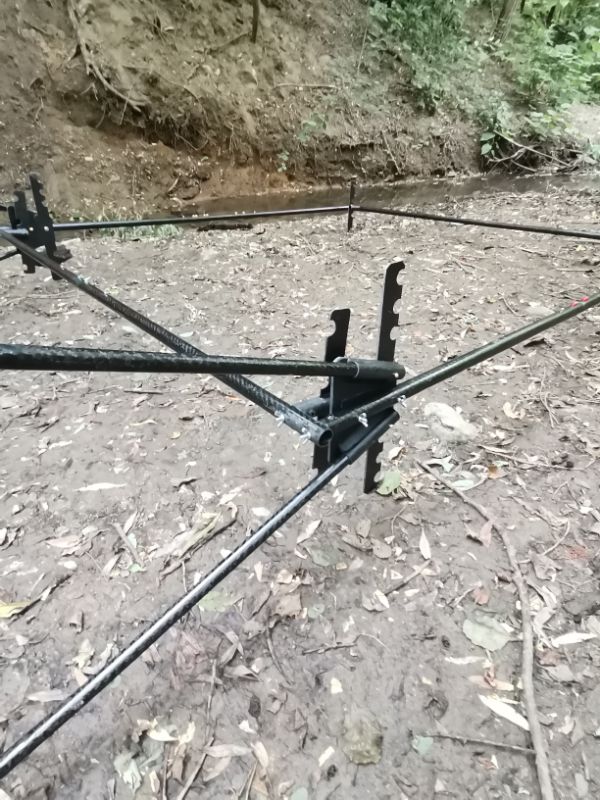
Step 5
The next step is to snap the legs with the help of button clips. The legs could end up in any place. The height adjustment of the legs is done with a twit-lock lock, as with a hiking stick. It opens clockwise, while adjusting it to the correct length.
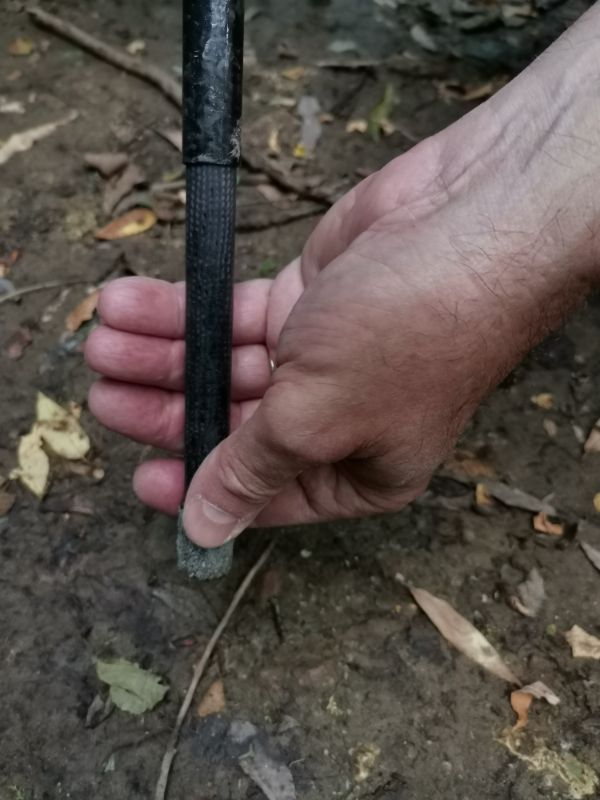
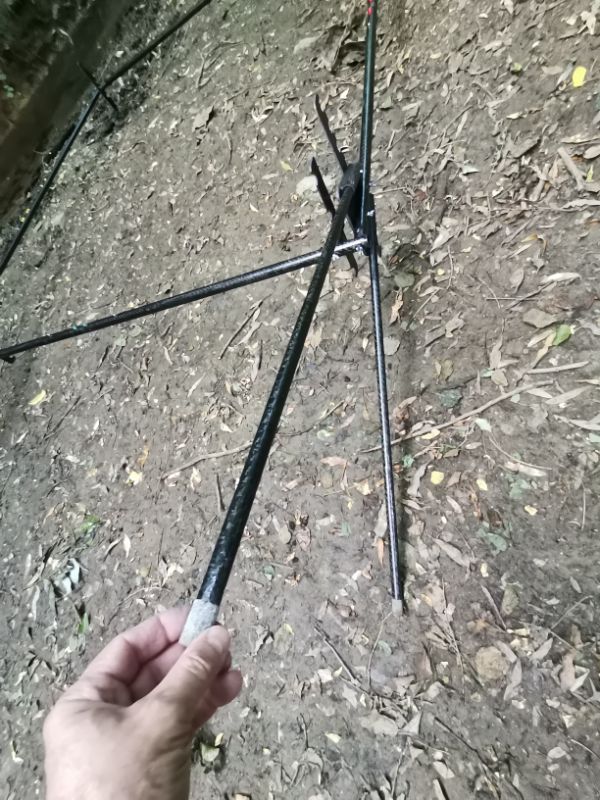
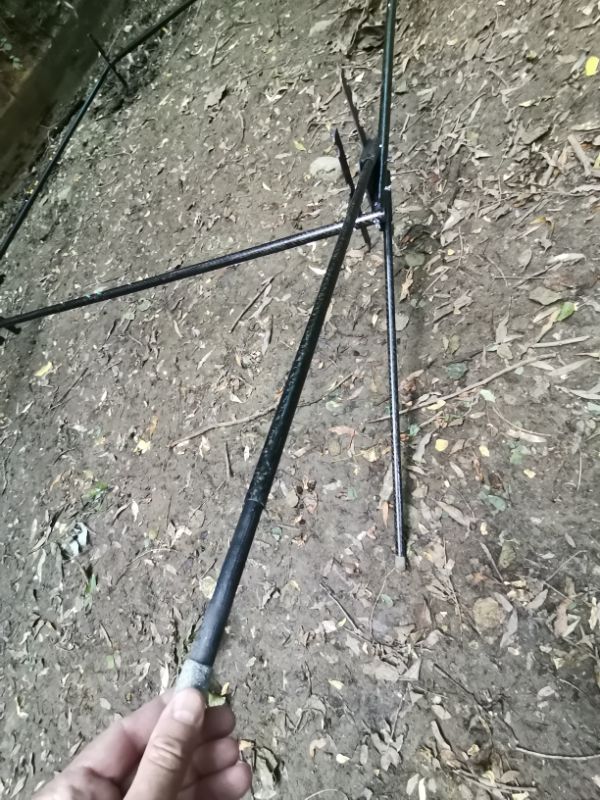
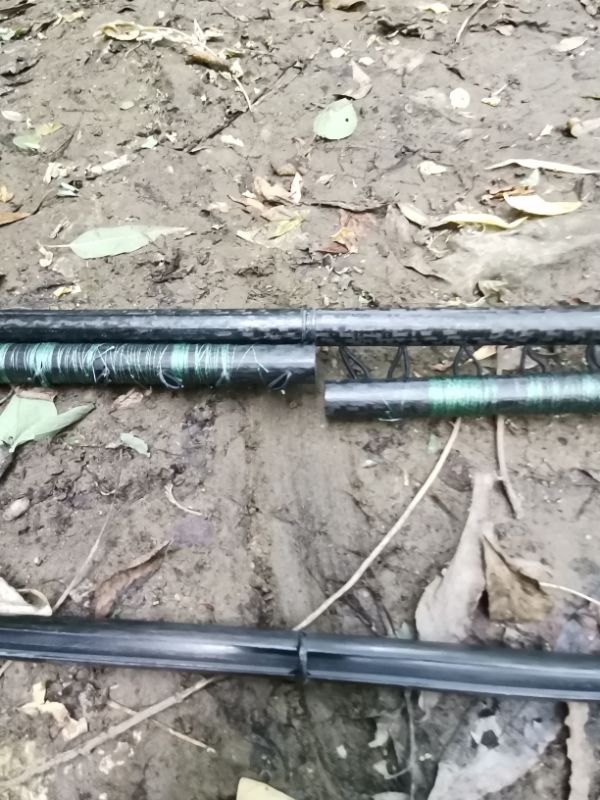
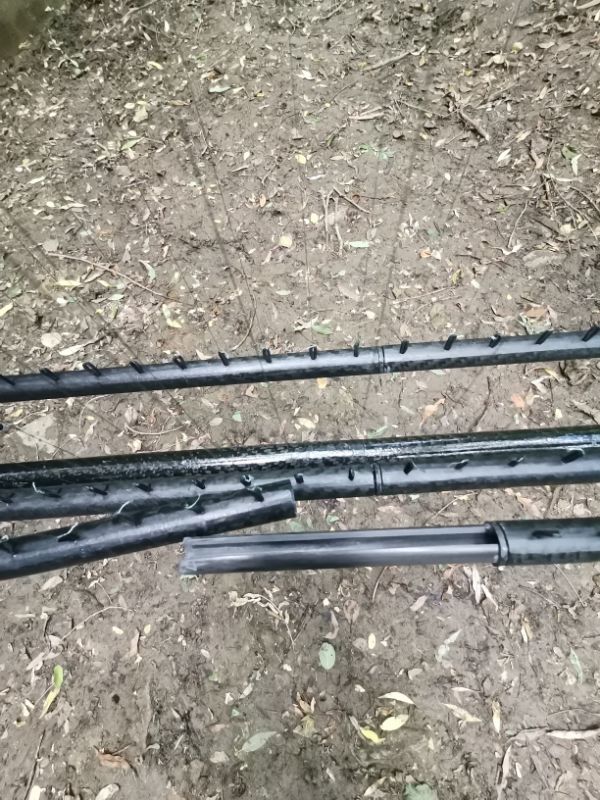
Step 6
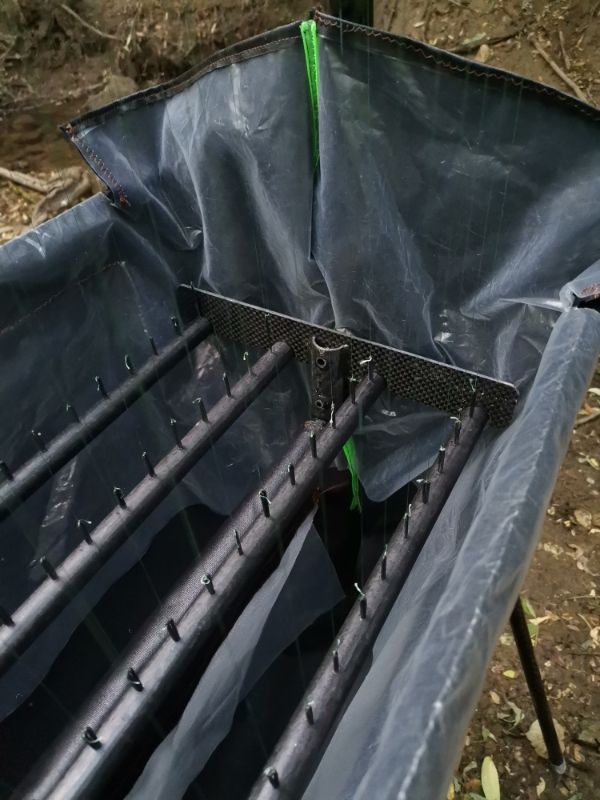
Putting the rods of the harp together: disassemble the elements on the ground. Push the upper elements together with the open-tube extensions. Secure the extension with the included adhesive tape so that it cannot slide or turn. Place the top tube in the inner trough and wrap both rods completely by keeping the strings tight. When it is done, push the pipes together one after another, the same way as you put the top tube together. Hang it in the right trough. Repeat this action for all four curtains. Do the opposite when leaving home. If you work more days, it is a good idea to keep the rods together during the day for faster installation.


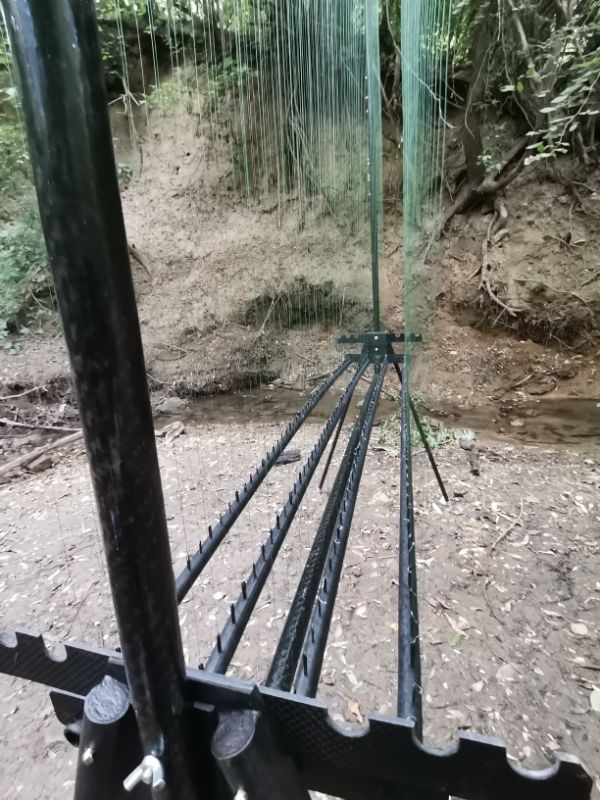
Step 7
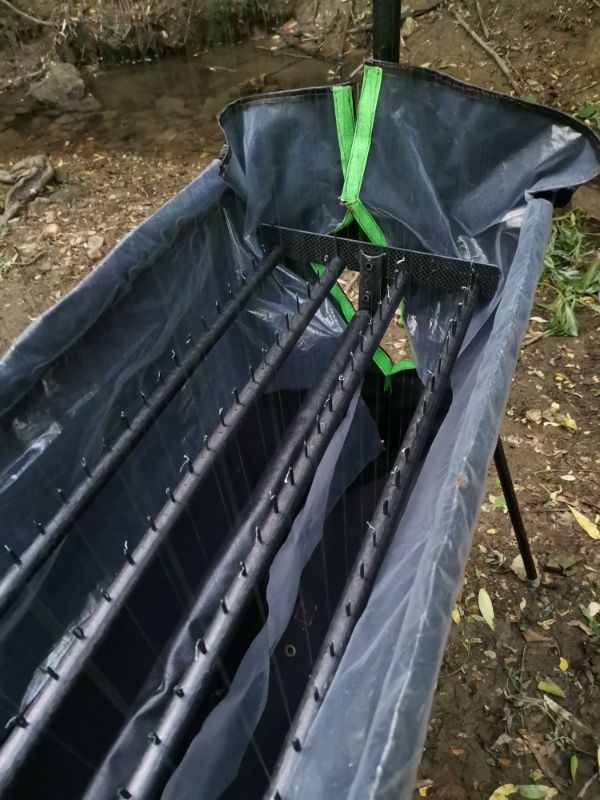
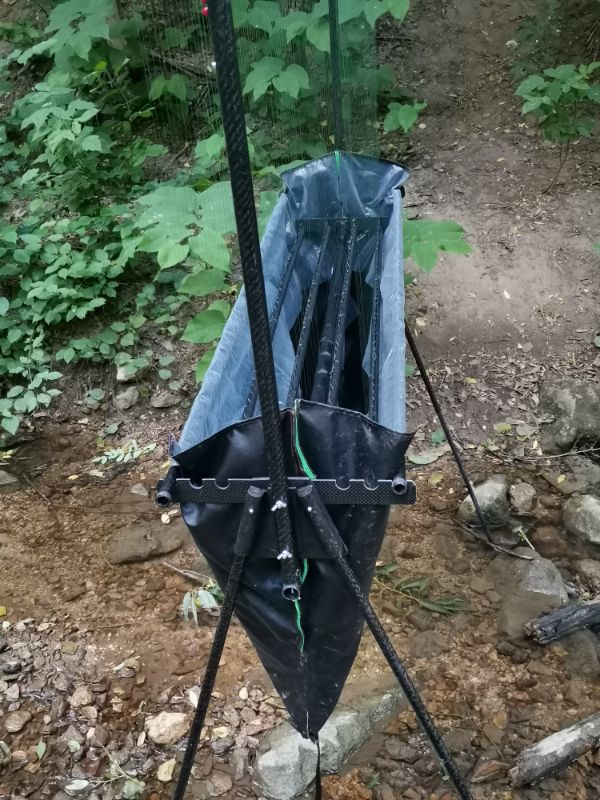
Attaching the bag: push it together and push the remaining two rods into the bag tunnels. Open the Velcro fasteners at the ends of the bag and close from below to hang the rods in the inside of the bag holder. Velcro fasteners must run between the frame and string support elements. After the bag is put on, the Velcro sacks are folded together by stretching the bag down a little. Arrange the inside of the bag. Place the cover to protect the perfect condition of the bats on the bottom bar of the frame. The last thing you need to do is fix the transparent pockets together with the included tweezers rubber to make sure the bats get into the pocket.

Thank you for choosing the HUN-BAT trap family. I wish the trap would help you do your job effectively. If you have any questions, I am available by e-mail.